Saving Code#
Most Cal-ITP analysts should opt for working and committing code directly from JupyterHub. Leveraging this cloud-based, standardized environment should alleviate many of the pain points associated with creating reproducible, collaborative work.
Doing work locally and pushing directly from the command line is a similar workflow, but replace the JupyterHub terminal with your local terminal.
Table of Contents#
What’s a typical project workflow?
Someone is collaborating on my branch, how do we stay in sync?
The
mainbranch is ahead, and I want to sync my branch withmainOptions to Resolve Merge Conflicts
Options to Resolve pre-commit issues
Project Workflow#
It is best practice to do have a dedicated branch for your task. A commit in GitHub is similar to saving your work. It allows the system to capture the changes you have made and offers checkpoints through IDs that both show the progress of your work and can be referenced for particular tasks.
In the data-analyses repo, separate analysis tasks live in their own directories, such as data-analyses/gtfs_report_emails.
Start from the
mainbranch:git pull origin mainCheck out a new branch to do your work:
git switch -c my-new-branchDo some work…add, delete, rename files, etc
See all the status changes to your files:
git statusWhen you’re ready to save some of that work, stage the files you want to commit with
git add foldername/notebook1.ipynb foldername/script1.py. To stage all the files, usegit add ..Once you are ready to commit, add a commit message to associate with all the changes:
git commit -m "exploratory work"Push those changes from local to remote branch (note: branch is
my-new-branchand notmain):git push origin my-new-branch.To review a log of past commits:
git logWhen you are ready to merge all the commits into
main, open a pull request (PR) on the remote repository, and merge it in!Go back to
mainand update your local to match the remote:git switch main,git pull origin mainOnce you’ve merged your branch into
mainand deleted it from the remote, you can delete your branch locally:git branch -d my-new-branch. You can reuse the branch name later.
Pulling and Pushing Changes#
Especially when you have a collaborator working on the same branch, you want to regularly sync your work with what’s been committed by your collaborator. Doing this frequently allows you to stay in sync, and avoid unnecessary merge conflicts.
Stash your changes temporarily:
git stashPull from the remote to bring the local branch up-to-date (and pull any changes your collaborator made):
git pull origin my-new-branchPop your changes:
git stash popStage and push your commit with
git addandgit commitandgit push origin my-new-branch
Syncing my Branch with Main#
If you find that the main branch is ahead, and you want to sync your branch with main you’ll need to use one of the below commands:
Read more about the differences between rebase and merge:
Rebase#
Rebasing is an important tool to be familiar with and introduce into your workflow. The video and instructions below help to provide information on how to begin using it in your collaborations with the team.
Youtube - A Better Git Workflow with Rebase
A rebase might be preferred, especially if all your work is contained on your branch, within your task’s folder, and lots of activity is happening on main. You’d like to plop all your commits onto the most recent main branch, and have it appear as if all your work took place after those PRs were merged in.
At this point, you’ve either stashed or added commits on
my-new-branch.Check out the
mainbranch:git switch mainPull from origin:
git pull origin mainCheck out your current branch:
git switch my-new-branchRebase and rewrite history so that your commits come after everything on main:
git rebase mainAt this point, the rebase may be successful, or you will have to address any conflicts! If you want to abort, use
git rebase --abort. Changes in scripts will be easy to resolve, but notebook conflicts are difficult. If conflicts are easily resolved, open the file, make the changes, thengit addthe file(s), andgit rebase --continue.Make any commits you want (from step 1) with
git add,git commit -m "commit message"Force-push those changes to complete the rebase and rewrite the commit history:
git push origin my-new-branch -f
Merge#
Note: Merging with fast-forward behaves similarly to a rebase.
At this point, you’ve either stashed or added commits on
my-new-branch.Pull from origin:
git switch mainandgit pull origin mainGo back to your branch:
git switch my-new-branchComplete the merge of
my-new-branchwithmainand create a new commit:git merge my-new-branch mainA merge commit window opens up. Type
:wqto exit and complete the merge.Type
git logto see that the merge commit was created.
Options for Resolving Merge Conflicts#
If you discover merge conflicts and they are within a single notebook that only you are working on it can be relatively easy to resolve them using the Git command line instructions:
From the command line, run
git merge main. This should show you the conflict.From here, there are two options depending on what version of the notebook you’d like to keep.
To keep the version on your branch, run:
git checkout --ours path/to/notebook.ipynbTo keep the remote version, run:
git checkout --theirs path/to/notebook.ipynb
From here, just add the file and commit with a message as you normally would and the conflict should be fixed in your Pull Request.
Options for Resolving Pre-commit Issues#
Pre-commit checks are used to ensure our code meets our quality standards and fix formatting issues before being committed to the remote repo. If your Pull Request or files are failing the pre-commit checks, try these steps to resolve them.
In the root of the
data-analysesrepo, runmake add_precommit(which runsuv run pre-commit install).Run
git addandgit commitlike normal. The pre-commit checks will run and identify any errors it finds, automatically correct errors it can do, and identify errors that need manual changes.If you are not able to
git pushyour commit and get aEverything up-to-datemessage, or if your PR is failing the pre-commit check, then runpre-commit run --all-files. Runningpre-commit run --all-fileswill run the pre-commit checks again on all files.Address any manual changes the check identifies (“E402 module level import not at top of file”, “<> imported but unused”, “expected 2 blank lines, found 1”, etc.)
Repeat
pre-commit run --all-filesand make manual changes until all checks are passing.Finally you can
git addthe adjusted files,git commit,git pushagain.
If you are importing a module from a different directory with import sys, sys.path.append() and from ... import... into your script, you may receive the E402 module level import not at top of file pre-commit error. This error occurs because of the placement of the sys.path.append() line and the import... line that follows. To satisfy the pre-commit checks and still have your script run, please do the following:
include
import importlib,import osandimport sysat the beginning of your script with the other dependencies.include a line for
sys.path.append(os.path.abspath("../path_to_module"))followed by a line for
module_name = importlib.import_module("module_name")
Other Common Issues#
Untracked Files: Sometimes, files are created or modified locally but are not added to Git before committing, so they are not tracked or pushed to GitHub. Use
git add <filename>to track files before committing.Incorrect Branches: Committing to the wrong branch (e.g., main instead of a feature branch) can cause problems, especially if changes are not meant to be merged into the main codebase. Always ensure you’re on the correct branch using git branch and switch branches with
git switch -c <branch-name>before committing.Merge Conflicts from Overlapping Work: When multiple analysts work on the same files or sections of code, merge conflicts can occur. Creating feature branches and pulling regularly to stay updated with main can help avoid these conflicts.
Other Common GitHub Commands#
These are helpful Git commands an analyst might need, listed in no particular order.
During collaboration, if another analyst already created a remote branch, and you want to work off of the same branch:
git fetch origin,git switch -c our-project-branch origin/our-project-branchTo discard the changes you made to a file,
git checkout my-notebook.ipynb, and you can revert back to the version that was last committed.Temporarily stash changes, move to a different branch, and come back and retain those changes:
git stash,git switch some-other-branch, do stuff on the other branch,git switch original-branch,git stash popRename files and retain the version history associated (
mvis move, and renaming is moving the file path):git mv old-notebook.ipynb new-notebook.ipynbSet your local
mainbranch to be the same as the remote branch:git fetch origin git reset --hard origin/mainTo delete a file that’s been added in a previous commit:
git rm notebooks/my-notebook.ipynbCherry pick a commit and apply it to your branch:
git cherry-pick COMMIT_HASH. Read more from Stack Overflow and Atlassian.
External Resources#
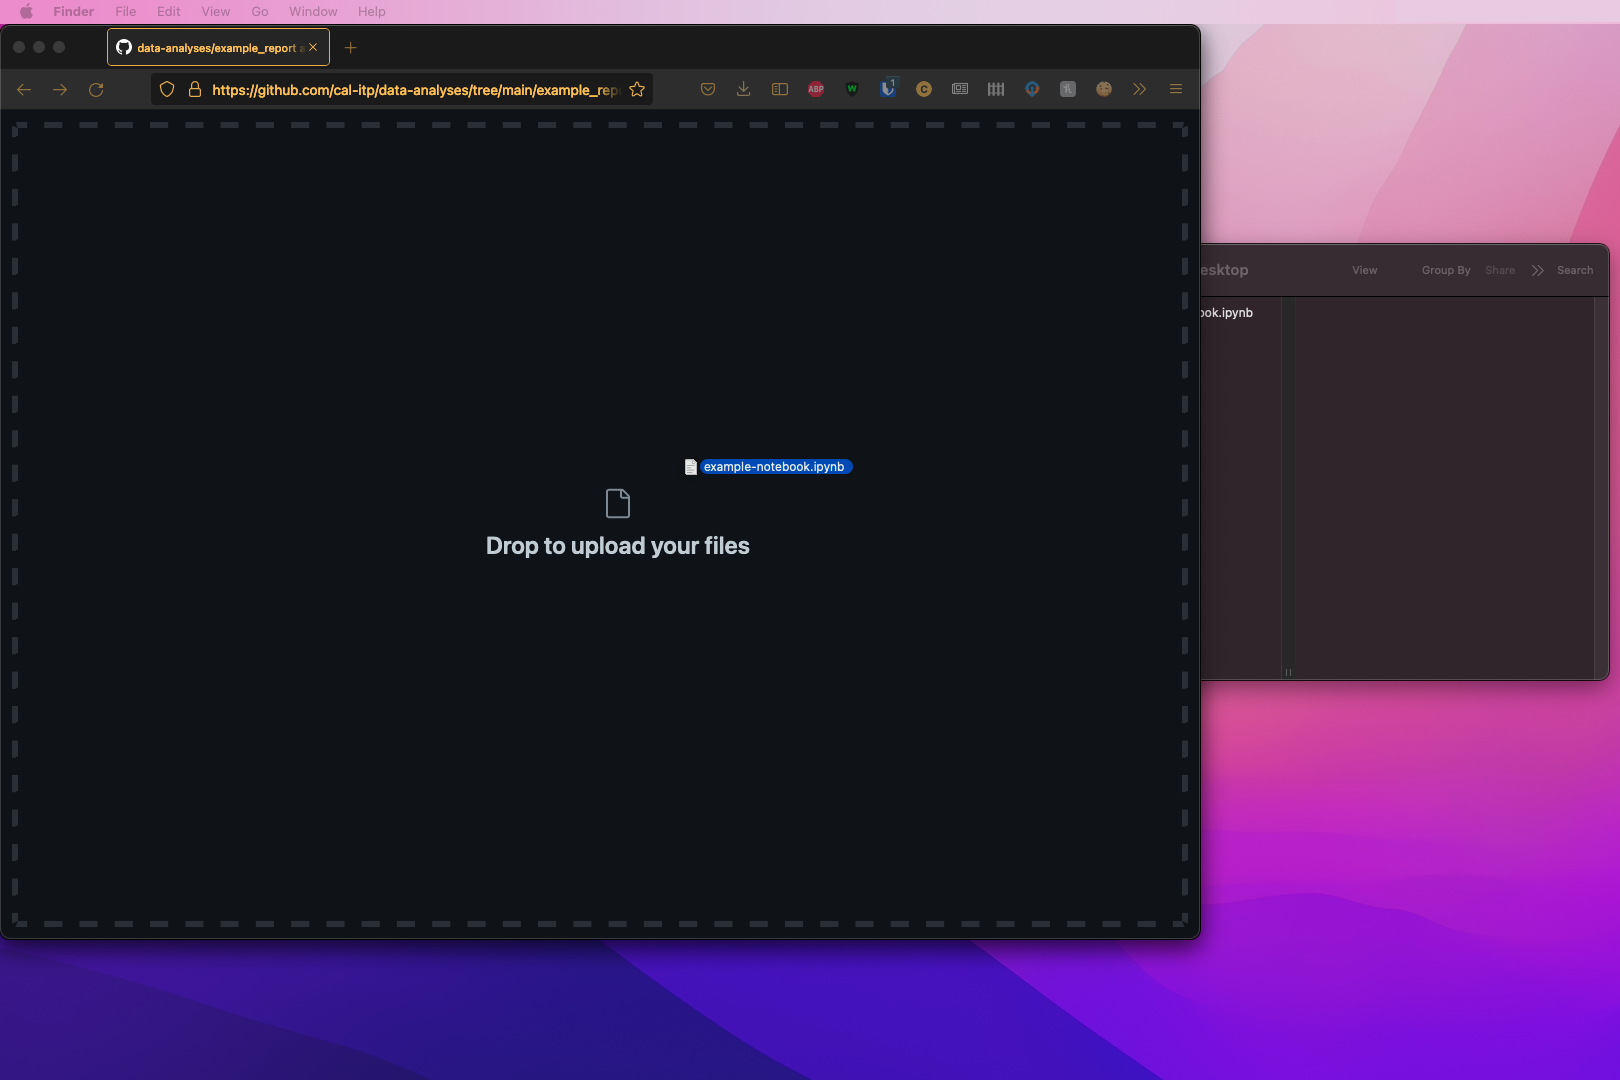
Committing in the Github User Interface#
If you would like to commit directly from the Github User Interface:
Navigate the Github repository and folder that you would like to add your work, and locate the file on your computer that you would like to commit
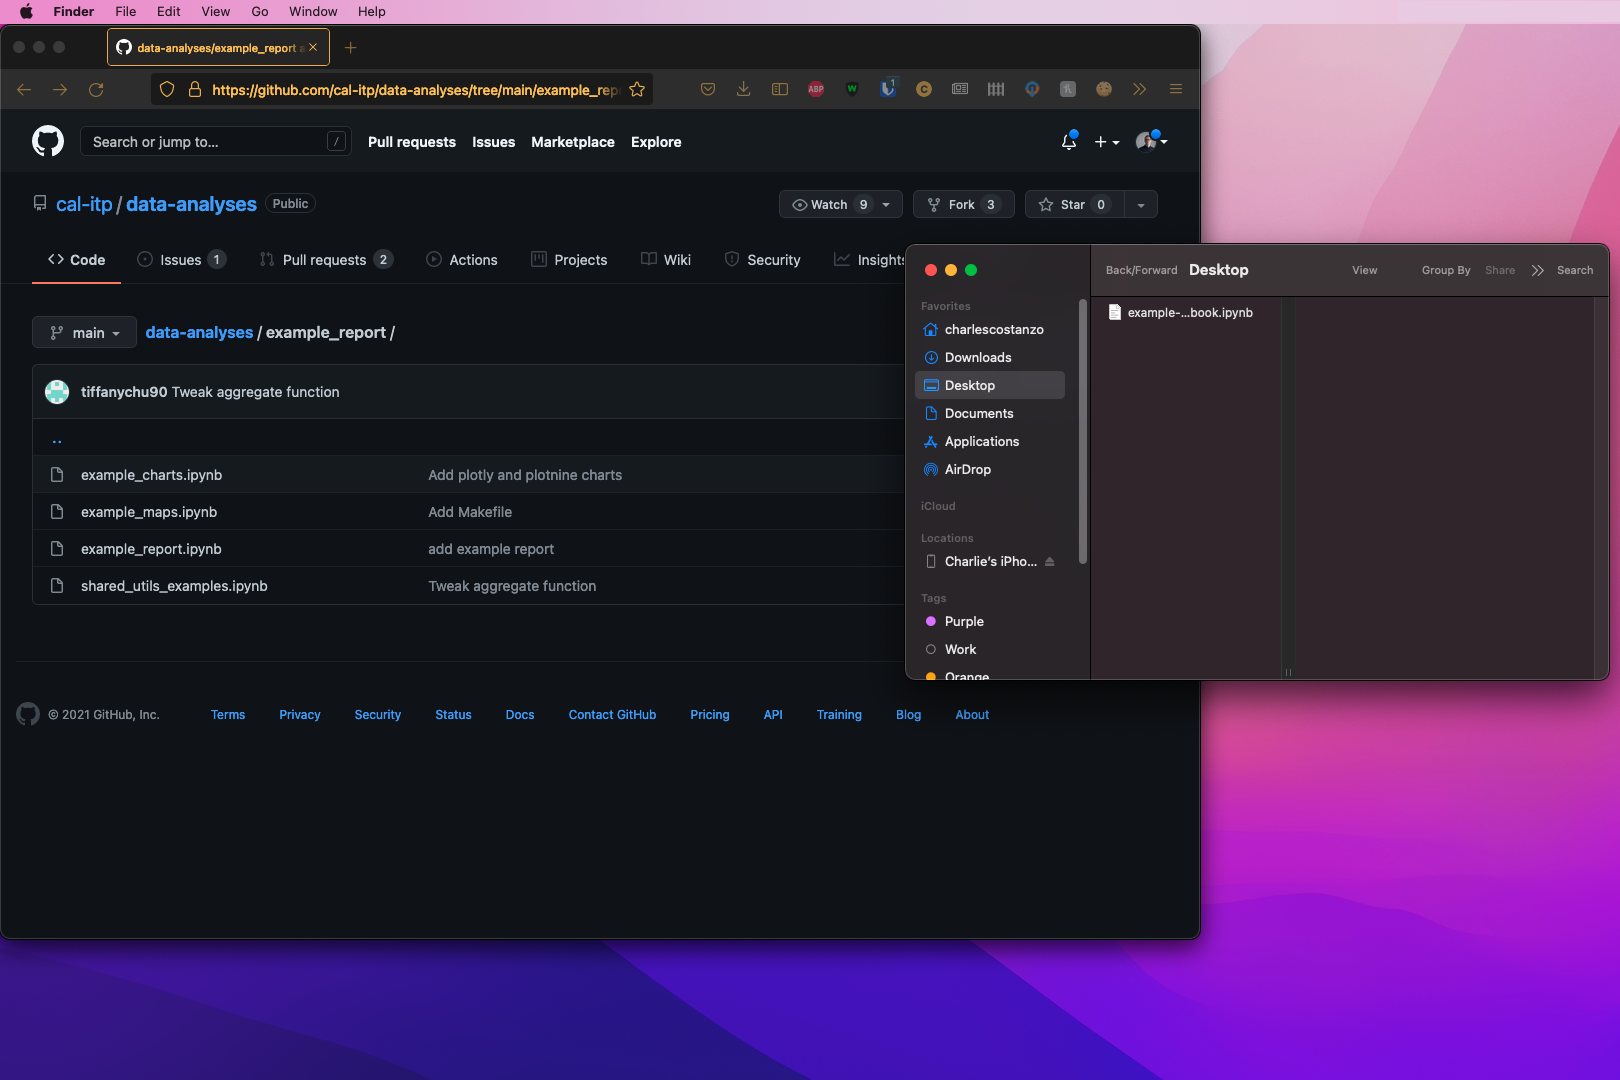
‘Click and Drag’ your file from your computer into the Github screen