How to Log Emails 
Logging emails is an important function within Hubspot. This keeps a record of all communication with an agency or organization so that CAL-ITP team members can be kept up to date on agency relationships. There are a few ways to log emails in Hubspot:
- CC/Bcc crm@calitp.org
- Enable the Hubspot extension in your preferred email
- Manually log the email within Hubspot
Note
The Following steps will walk you through all 3 of these options
Logging an Email by CC’ing crm@calitp.org 
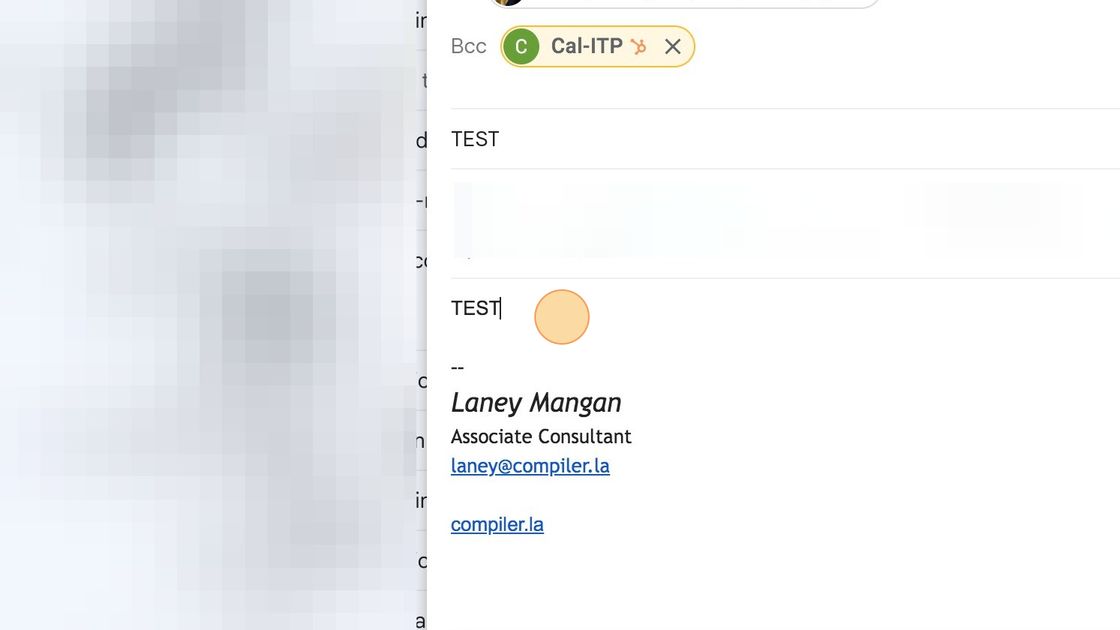
Navigate to your preferred email account and compose a new email message
Fill in all information as you normally would, then click either CC or Bcc

Enter “crm@calitp.org” into the CC or Bcc field
Note
You may also CC or Bcc hello@calitp.org. This is used only when a Ticket is also needed. In which case, that ticket enters the Support pipeline in Hubspot. Ticket = action is needed.
Logging and Email using the Hubspot Extension 
Navigate to your preferred email account and compose a new email message
You will now see the Hubspot settings bar below the Subject line
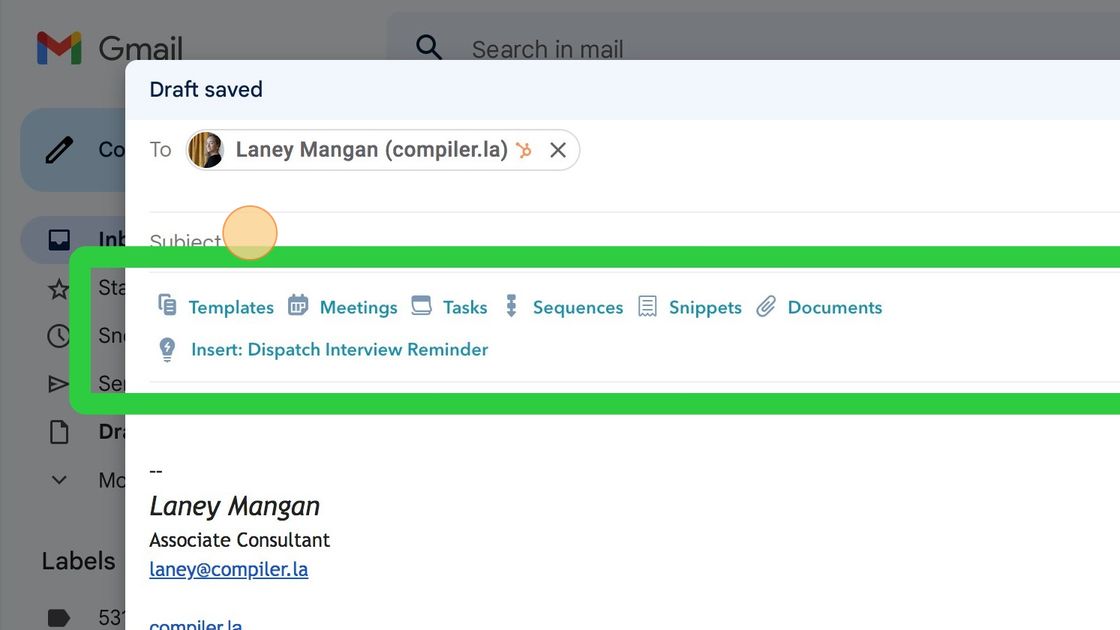
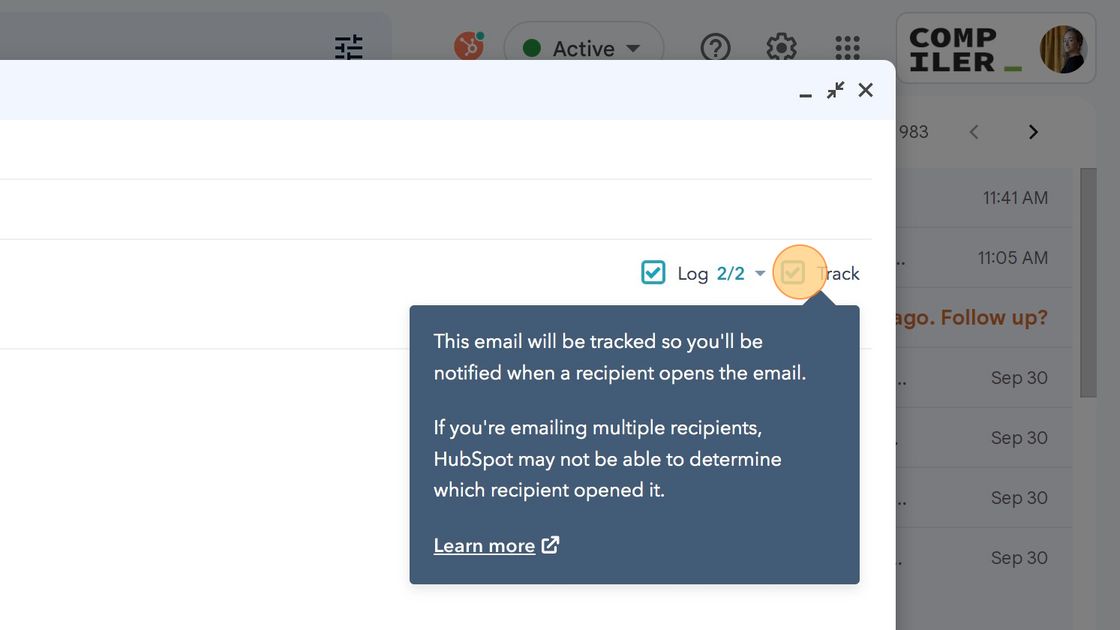
On the far right of this bar you will see the checkboxes allowing you to choose whether or not you’d like this message to be logged and/or tracked
Note
Logging an email: records the message in HubSpot to create a record of all email communications with a transit agency or organization.
Note
Tracking an email: provides insight into how the recipient interacts with your email, such as if the email has been opened by the recipient.
Click log, then click Send.

Manually Logging an Email 
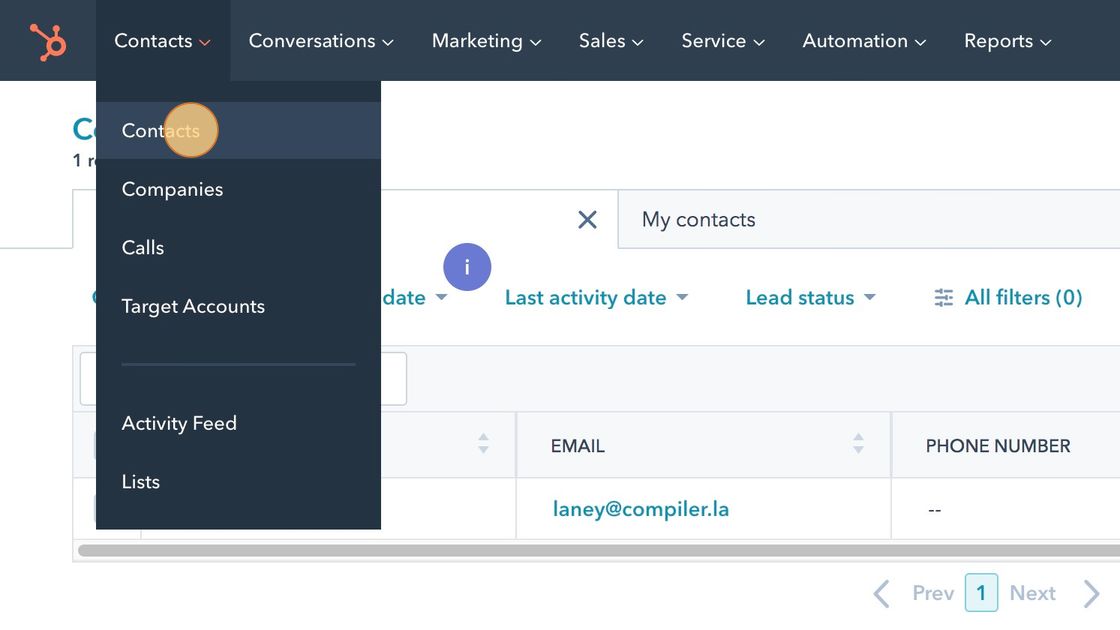
Navigate to https://app.hubspot.com/contacts/5519226/contact/40101?interaction=logged-email
Navigate to the contact or company tab
Tip
You can also click the magnifying glass icon on the menu bar on the top right to search for a company or contact.
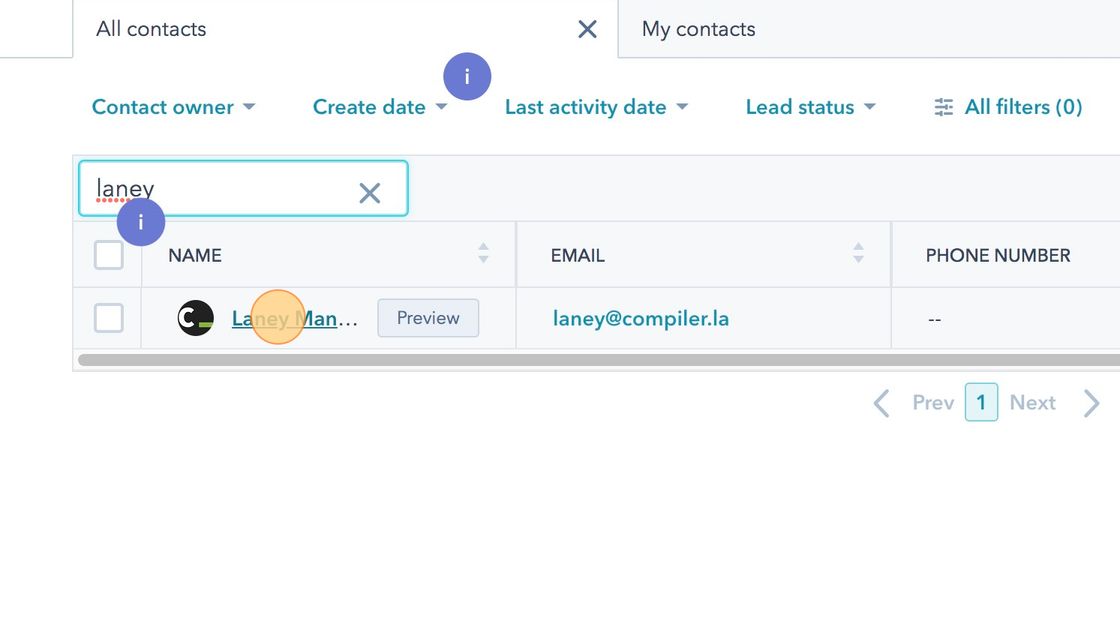
Find the appropriate contact or company
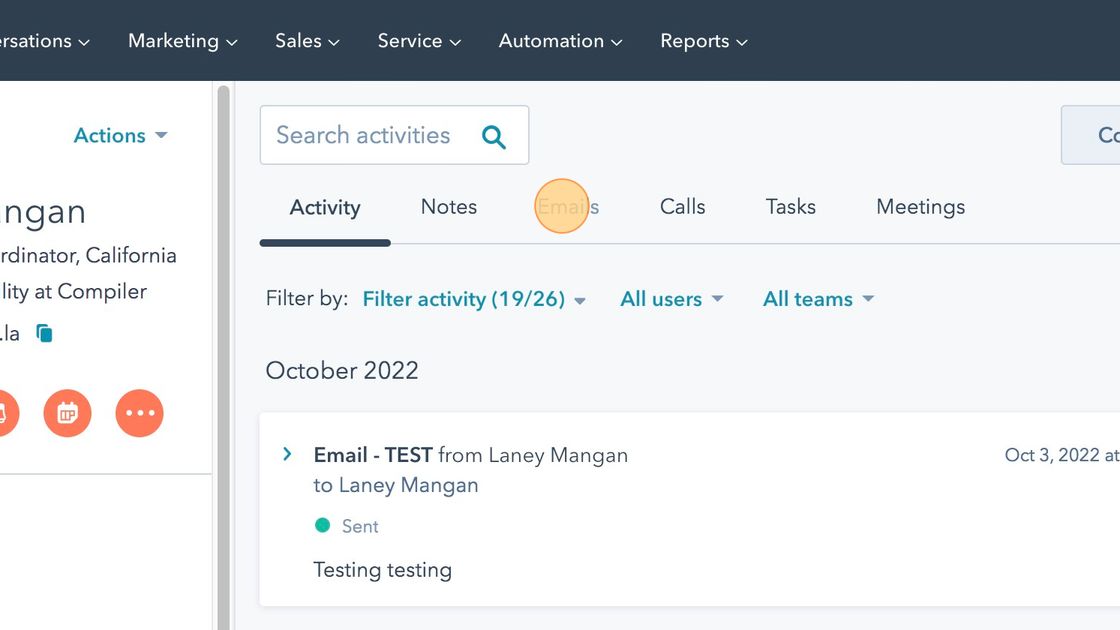
Click “Emails”
Click “Log Email”

Fill in the date, time, and content of the email you are logging
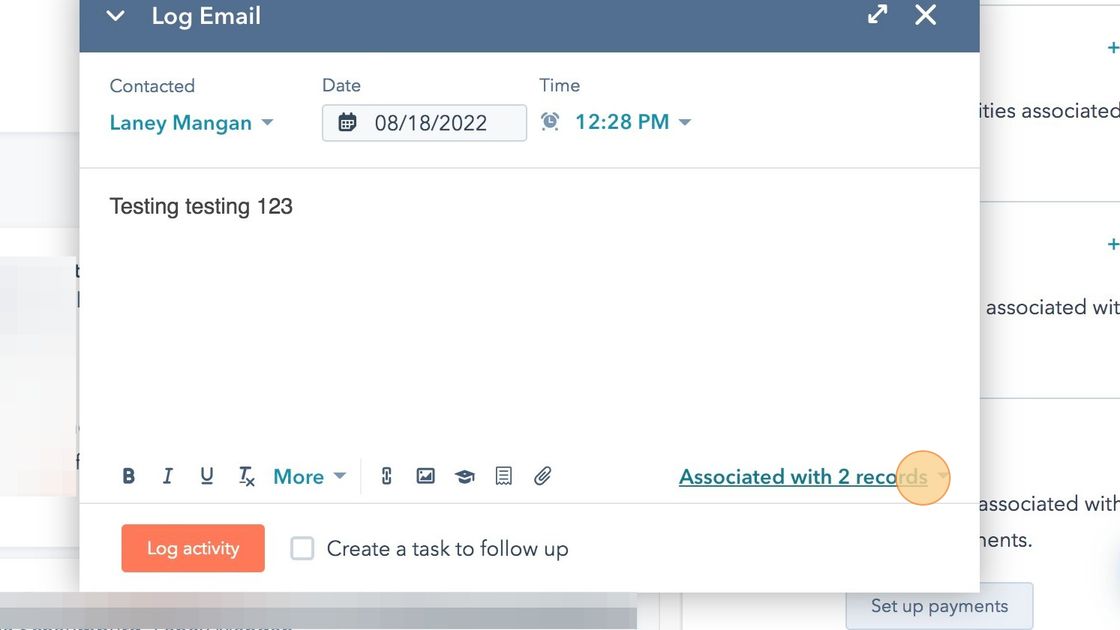
Click “Log activity”
